Create Custom Payment Form: Step-by-Step Guide for Online Checkout
A custom payment form lets you gather extra customer information during checkout, such as gift messages, delivery instructions, or feedback. Follow these steps to create one:
Enable the Form:
- Navigate to Payment Area panel
- Click Additional Fields
- Check Enable Custom Payment Form
- Click Edit Custom Payment Form
Create Your Form:
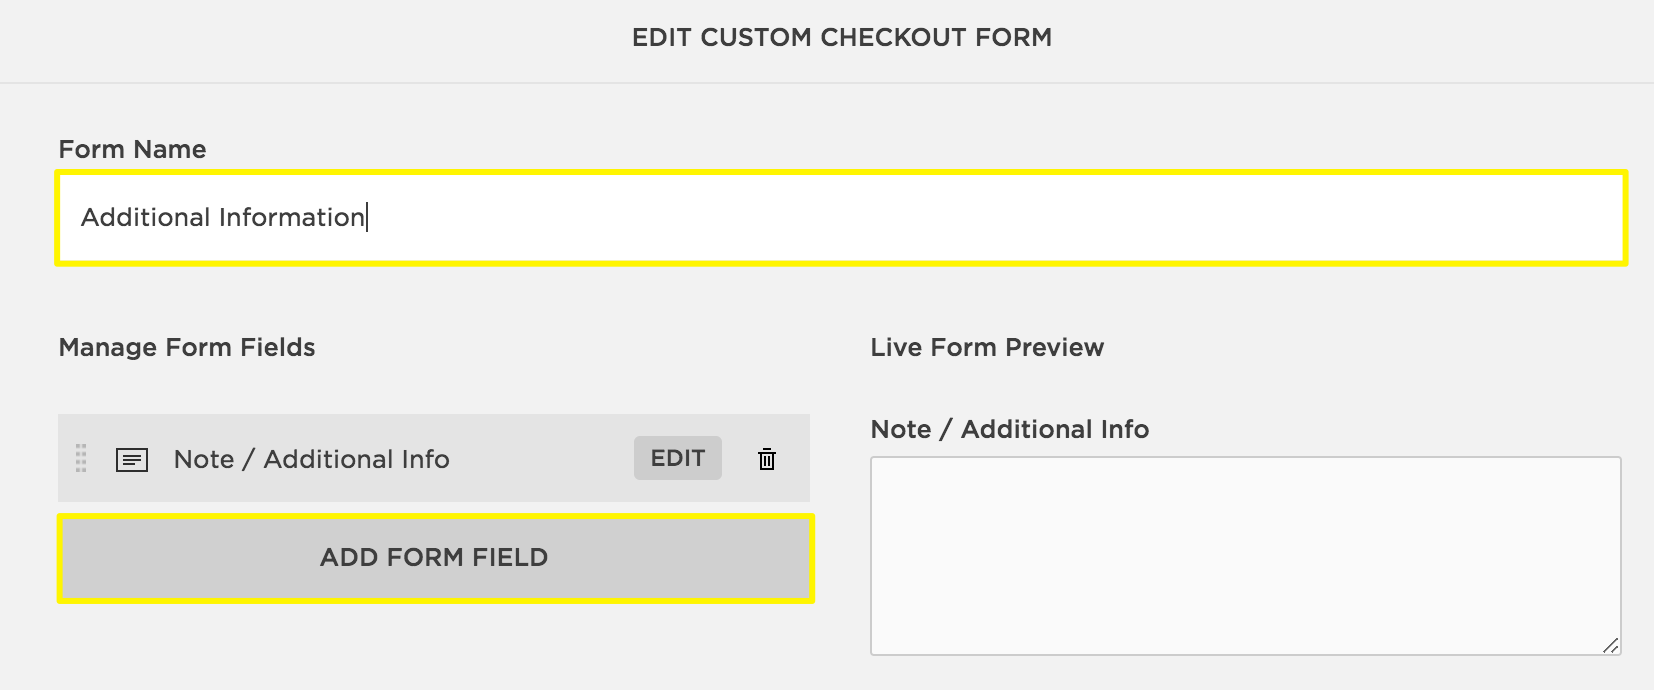
- Replace the placeholder Form Name with your desired title
- Click Add Field to Form
- Edit each field's properties:
- Add title and description
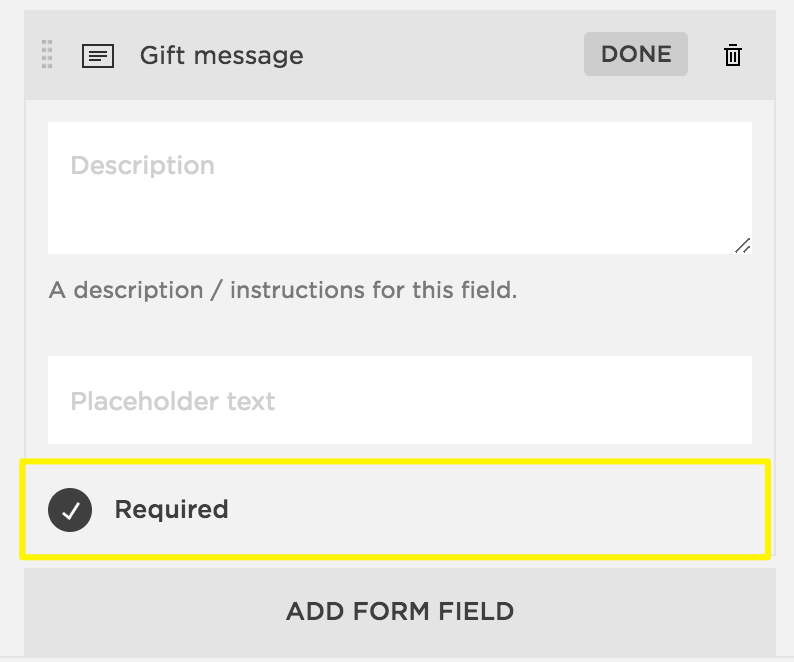
- Mark as required if needed
- Click Done after each field
- Remove placeholder fields using the trash icon
- Click Save to publish changes

Form with input fields

Required checkbox
Form Location:
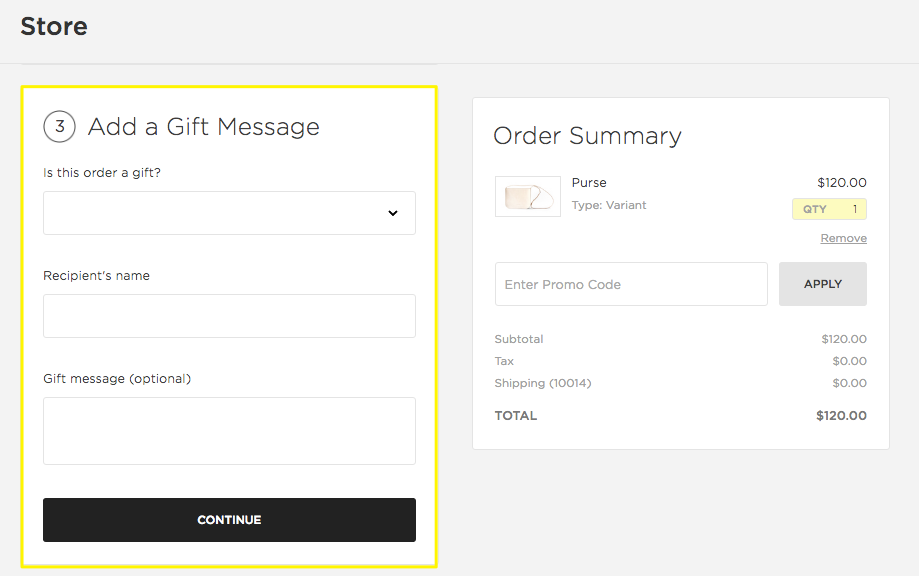
- Appears below Shipping field (physical products)
- Shows below Email field (digital/service products)
- Available in accordion menu for Apple Pay users
- Not visible for in-person sales

Gift message field
View Submissions:
- Order details panel
- Email notifications
- Exported order CSV files
Common Uses:
- Gift messages
- Delivery instructions
- Recommendation surveys
- Terms of Use acceptance
- Customer feedback
Note: Some field types, like file uploads, are not available in the custom payment form. Test your form by placing a sample order to ensure it appears correctly.
Related Articles

How to Set Up a Third-Party Subdomain on Squarespace: Step-by-Step Guide

