Report: How to Add and Customize a Scheduling Block in Squarespace
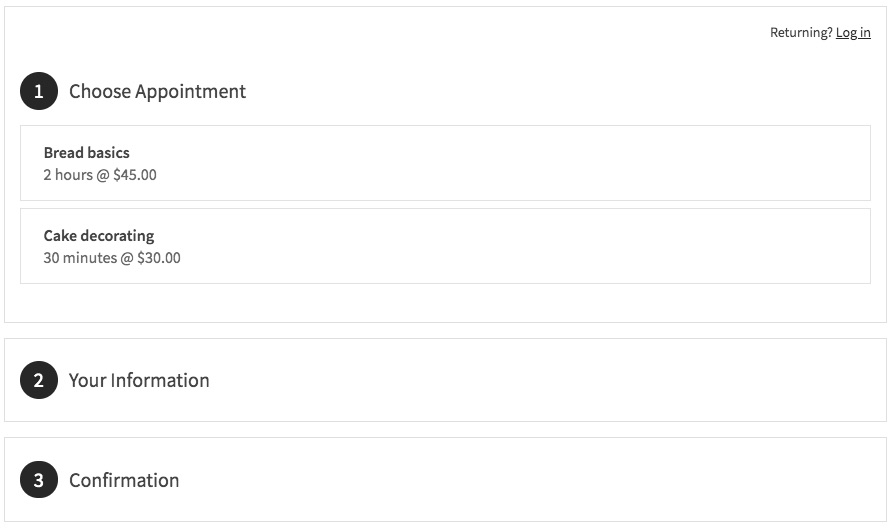
Scheduling blocks allow visitors to book appointments directly through your website using Acuity Scheduling. Here's how to set it up and customize it.
Adding a Scheduling Block with Squarespace-Linked Acuity
- Edit your page
- Click Add Block or an insertion point
- Select Scheduling
- Click the pencil icon to edit
- Choose your desired scheduler type
- Click Apply (Version 7.0)

Select Times Page
Using Standalone Acuity Scheduling
- Get your scheduler URL:
- Access your Acuity account
- Copy the general scheduling page link or specific calendar link
- Add to your site:
- Add a Scheduling Block
- Choose Custom Link
- Paste your URL
- Click Apply
Customizing Your Scheduler
- Access Customize Appearance in Acuity
- Click Scheduling Page Options
- Adjust settings using the live preview
- Save changes
Security Options
- Add page password protection
- Restrict to membership-only access
- Place scheduling block in closed content
Appearance Customization
You can modify:
- Page layout
- Visual elements
- Hide "Powered by Acuity" branding
- Adjust scheduling page options
Important Notes:
- No Squarespace transaction fees apply
- Paid Acuity plan required for standalone embedding
- All Squarespace-linked Acuity plans support scheduling blocks
- Design can be customized through Acuity's appearance settings
- Changes can be previewed in real-time
For added security, consider using page passwords or membership restrictions to control who can access your scheduling system.
Related Articles

How to Connect a Squarespace Domain to Google Sites: Complete Guide

