How to Switch from Marquee to Brine Template: A Step-by-Step Guide
Here's the concise, value-focused rewrite:
When switching from a Marquee template group to Brine, follow these steps to ensure a smooth transition while maintaining your site's functionality and appearance.
Why Switch to Brine?
- More style options and smoother operation
- Similar features to Marquee (stacked index pages, parallax scrolling, banner images/videos)
- Better platform maintenance and support
Pre-Switch Preparation
- Document your current fonts and colors from website styles
- Keep your existing template installed as backup
Template Selection Guide Marquee → Basil Adversary → Polaris Alex → Sonny Eamon → Ethan Ginger → Basil Mint → Basil Shift → Burke
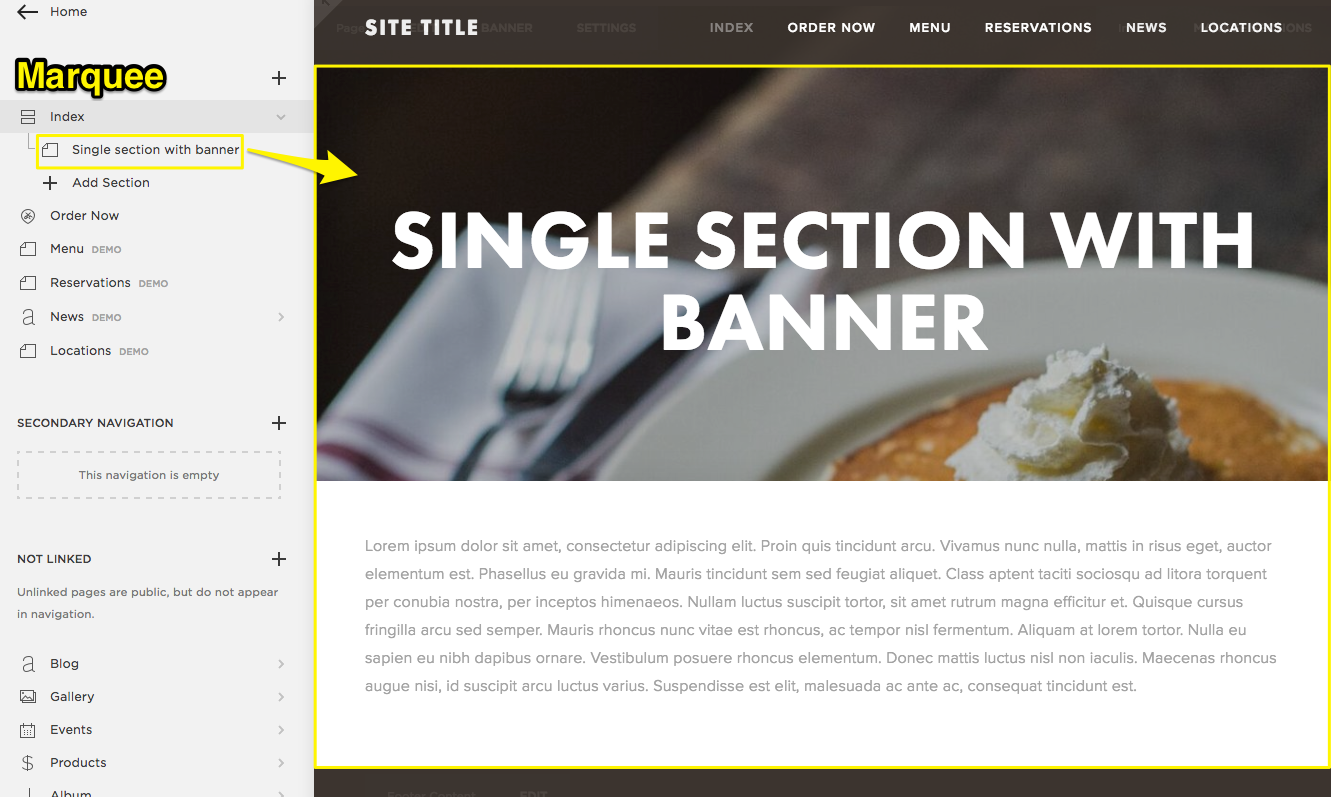
Single area with banner
Pancakes with whipped cream
Implementation Steps:
- Preview new template through Design menu > Template > Install New Template
- Customize style settings to match your previous design
- Configure header sections, mobile styles, and advanced features
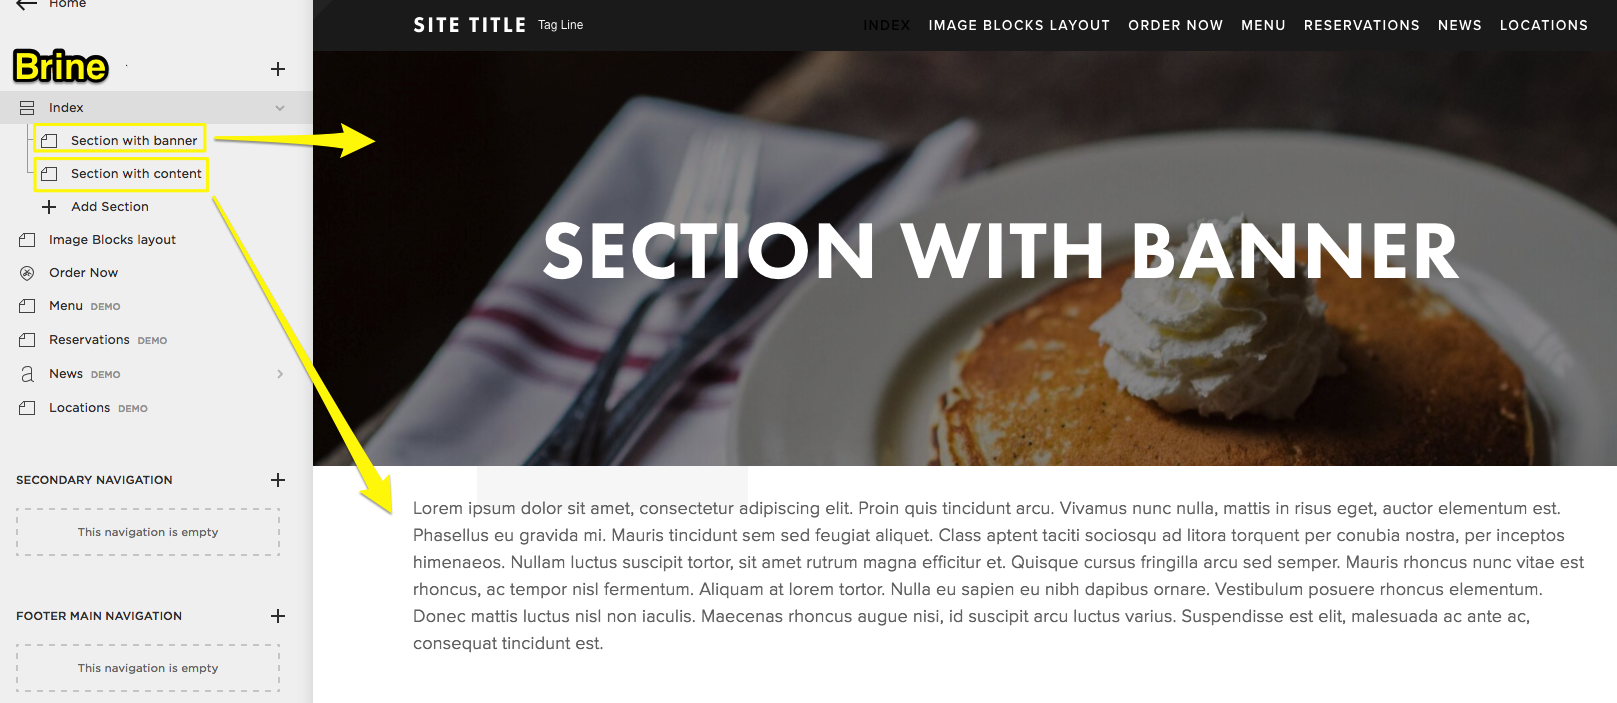
Banner and Content Adjustments:
- Duplicate index pages to create separate banner and content sections
- Remove content from top section for banner display
- Add page titles as text blocks with heading 1 formatting
- Edit Intro areas for banner text and additional elements
Page-Specific Considerations:
- Album Pages: Now support page banners
- Blog Pages: Grid layout available (column layout not supported)
- Event Pages: Option to show/hide past events
- Gallery Pages: Include page banner support
- Shop Pages: Advanced features supported
Final Steps:
- Review all pages for proper formatting
- Click "Set as Live Template" to publish
- Test all functionality across different devices
Remember: You can always switch back to your Marquee template if needed, as long as you keep it installed.
Related Articles
How to Connect a Squarespace Domain to Your Website