How to Send a Mass Email Campaign: Step-by-Step Guide
Here's how to send an email campaign effectively:
Before Getting Started
Ensure you have:
- A mailing list with subscribers
- Verified sender information
- Complete email draft
- Authenticated email address or domain
- Valid physical address
- Sufficient sending limits for your plan
Step 1: Configure Email Details
- Access your draft from the email campaign dashboard
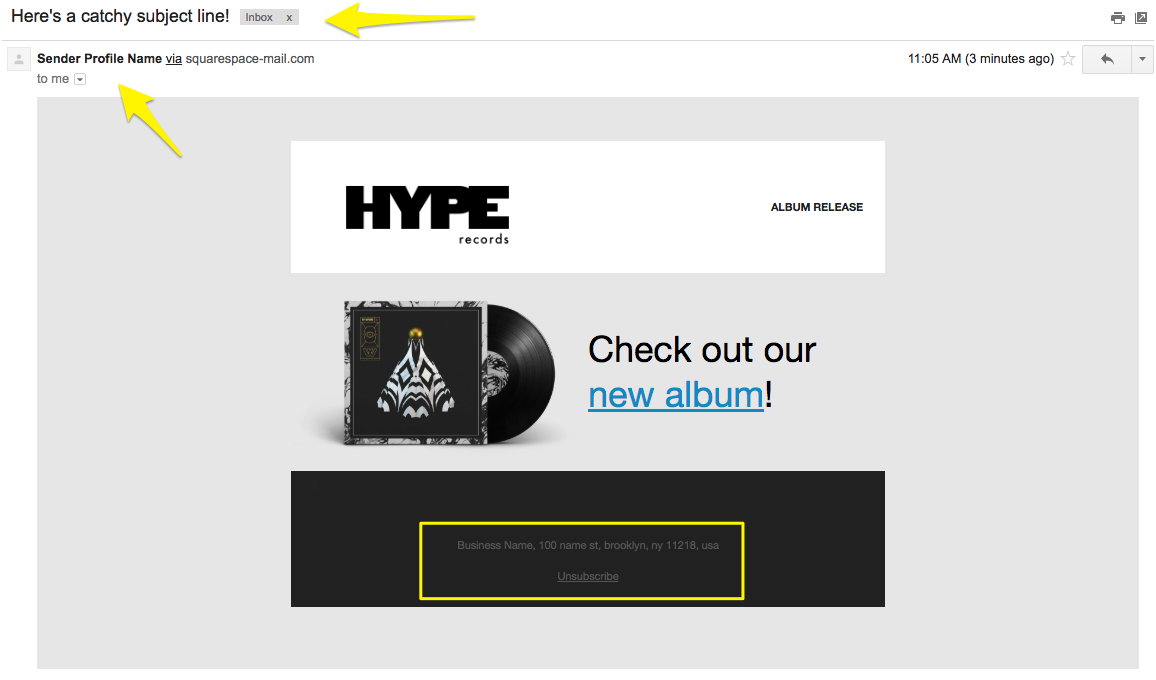
- Add compelling subject line and preview text
- Select recipients (mailing lists, segments, or tags)
- Set sender information (From name and email)
- Verify legal address in footer

Zebra patterned record jacket
Step 2: Test Your Campaign
Send a test email to yourself and verify:
- All links and buttons work
- Text is error-free
- Images display properly
- Unsubscribe link is visible
- Layout works on mobile and desktop
Step 3: Send or Schedule
To send immediately:
- Open Schedule panel
- Enable "Send Now"
- Click "Send to Recipients"
To schedule for later:
- Open Schedule panel
- Disable "Send Now"
- Set date and time
- Click "Schedule Email Campaign"
- Confirm scheduling
Important Notes:
- Scheduled campaigns use your device's time zone
- New subscribers may need to confirm before receiving campaigns
- Campaigns cannot be resent to specific subscribers
- If marked "Under Review," wait for automated safety check
- Custom domain authentication removes "via squarespace-mail.com"
- Track campaign performance through the dashboard
- Sent campaigns cannot be undone or canceled
For optimal delivery:
- Stay within monthly sending limits
- Authenticate your domain
- Follow anti-spam best practices
- Use a custom email address
Related Articles

How to Set Up a Third-Party Subdomain on Squarespace: Step-by-Step Guide

