Guide: Managing Navigation Pages in Squarespace - Adding and Customizing Site Menus
To add pages to your site's navigation menu:
On Desktop (Version 7.1)
- Open the Pages panel
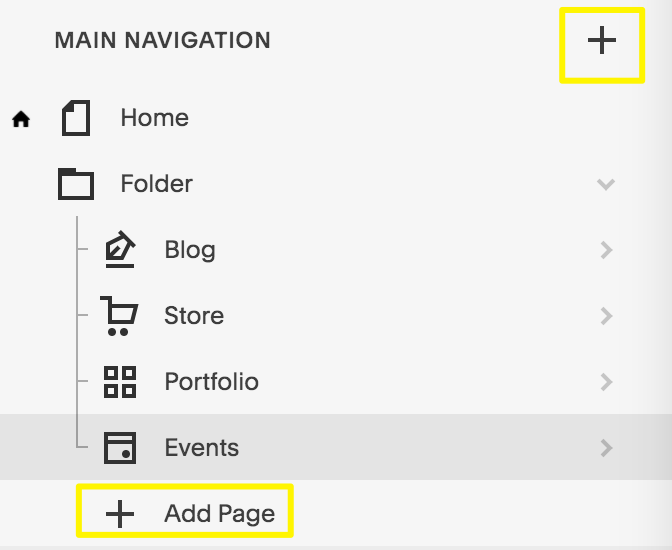
- Click the + icon next to main navigation
- Select "Blank page" or choose from pre-built layouts
- Enter a page title and press Enter

Add Page navigation menu button
On Desktop (Version 7.0)
- Open the Pages panel
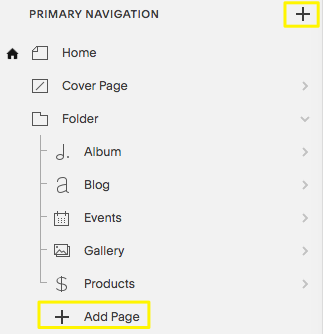
- Click + next to main navigation
- Choose page type from Create new page menu
- Enter page title and press Enter

Squarespace main navigation menu options
In Squarespace App
- Tap More > Pages
- Tap + or Add in desired navigation section
- Select page type
- Double tap to enter page title
Available Page Types:
- Layout Pages: Custom layouts with text, images, forms, etc.
- Collection Pages:
- Blog
- Events
- Portfolio (7.1 only)
- Store
- Albums (7.0 only)
- Gallery (7.0 only)
Additional Navigation Features:
- Dropdowns for grouping pages
- External/internal links
- Member Sites for restricted access
- Cover pages (7.0 only)
- Index pages (7.0 only)
After Adding Pages:
- Edit page settings by clicking the gear icon
- Reorder pages by dragging within Pages panel
- Delete pages by clicking the trash icon (recoverable within 30 days)
- Customize navigation styles (fonts, colors, etc.)
Note: Demo pages included with templates can be identified by the "Demo" label and can be removed or modified.
Related Articles

How to Select and Customize Your Squarespace Template: A Complete Guide

