Add Pages to Site Navigation: A Step-by-Step Guide
Built-in navigation menus make your website easy to explore. Here's how to add pages for optimal site structure:
Adding New Pages
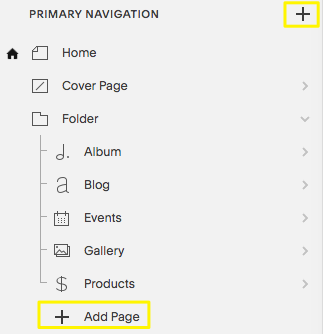
Version 7.1:
- Open the Pages menu
- Click the + icon next to primary navigation
- Select "Blank Page" or choose from pre-made layouts
- Enter page title and press Enter

Navigation menu with "Add Page" option
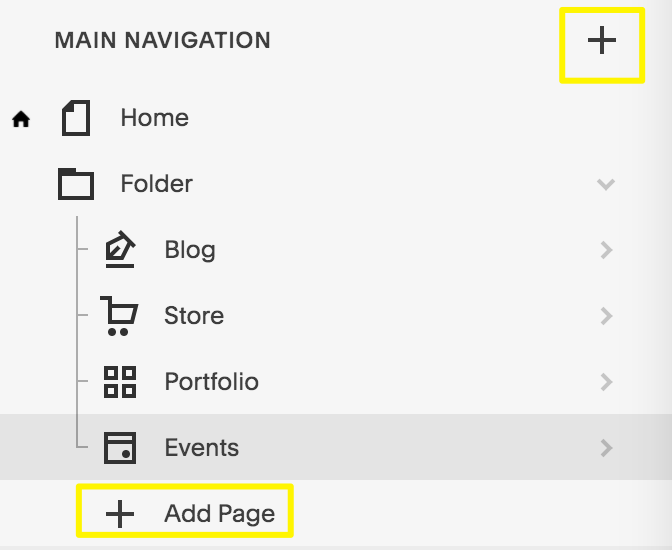
Version 7.0:
- Open Pages menu
- Click + next to main navigation
- Choose page type
- Enter title and press Enter

Add New Document icon
Available Page Types
Layout Pages:
- Customizable pages using content blocks
- Start blank or use pre-designed templates
- Add text, images, forms, and other elements
Collection Pages:
- Blog
- Events
- Portfolio (7.1 only)
- Shop/Products
- Albums (7.0 only)
- Gallery (7.0 only)
Additional Options:
- Drop-down menus
- External links
- Member-only pages
- Cover pages
- Index pages (7.0)
- Info pages (Aviator template only)
Mobile App Support
The Squarespace mobile app allows you to:
- Add/edit layout pages
- Manage shop products and inventory
- Create blog posts
- Schedule content
- Add/edit events
- Manage galleries
- Reorder navigation
Next Steps
After adding pages:
- Edit page settings (SEO, URLs, etc.)
- Reorder navigation by dragging pages
- Delete unwanted pages (recoverable within 30 days)
- Customize navigation style (fonts, colors)
Remember to maintain a logical structure that helps visitors find information easily.
Related Articles

Add Pages to Site Navigation: A Step-by-Step Guide

