
Create a Website Header: A Guide to Navigation, Layout & Design
A site header appears at the top of every page and contains essential navigation elements like your title/logo, menu links, and optional features. Here's how to create and customize it:
Basic Header Setup
- Click Edit > Edit Site Header
- Add or modify:
- Site title or logo
- Navigation links
- Optional elements (buttons, social icons, cart, account login)
- Save changes
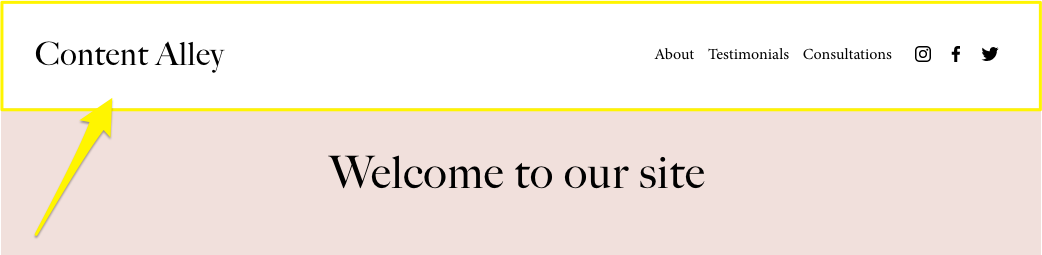
Yellow arrow points to the brand
Desktop Layout Settings
- Choose header layout style
- Set content width (Maximum or Inset)
- Adjust padding and spacing
- Add effects:
- Shadow
- Border
- Fixed position
- Background styles
Mobile Layout Settings
- Switch to mobile view
- Select mobile-specific layout
- Customize menu appearance
- Set menu icon style
- Adjust font sizes via Site Styles
Background Style Options
- Access via Edit Design > Color tab
- Choose from:
- Solid: Single color background
- Gradient: Fades into first section
- Adaptive: Transparent overlay
Additional Features
- Add call-to-action buttons
- Include social links
- Add shopping cart icon
- Enable customer account login
- Add language selector
- Hide header on specific pages
Tips
- Keep navigation clear and organized
- Ensure mobile responsiveness
- Maintain consistent branding
- Test all interactive elements
- Consider user experience when choosing fixed/scrolling options
Focus on creating a header that balances functionality with visual appeal while maintaining easy navigation across all devices.
Related Articles

How to Build Your First Squarespace Website: A Complete Guide