
Ultimate Guide to Creating and Customizing Website Headers in 2024
Creating a site header is crucial for consistent navigation and branding across your website. Here's how to set up and customize your header effectively:
Basic Header Setup
- Access the header editor:
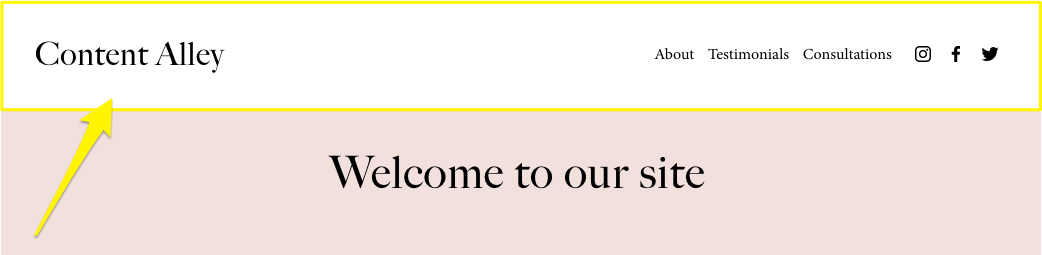
- Click "Edit" in the top-left corner
- Hover over the header and select "Edit site header"
- Add your site title or logo
- Arrange navigation links by dragging them into position
Welcome text example
Desktop Header Design
- Choose between Full or Boxed width
- Adjust padding and spacing between elements
- Add effects like drop shadows or borders
- Set background styles (Solid, Gradient, or Fitted)
- Enable fixed positioning if desired
Mobile Header Design
- Switch to mobile view using the device icon
- Customize menu appearance and icon
- Adjust link spacing and alignment
- Set custom colors for mobile menu overlay
- Configure collapsed menu appearance
Additional Header Elements
- Add optional features:
- Call-to-action button
- Social media icons
- Shopping cart
- Customer account login
- Language selector
- Style options for elements:
- Customize button appearance
- Set icon sizes and colors
- Adjust border styles
- Configure transparency levels
Header Background Customization
Choose from three styles:
- Solid: Single color background
- Gradient: Fading effect overlaying first section
- Fitted: Transparent overlay showing section background
Advanced Features
- Hide headers on specific pages
- Set different fonts for mobile/desktop
- Customize opacity and blur effects
- Configure fixed header scrolling behavior
- Add page-specific headers in supported templates
Remember to save your changes after each customization session by clicking "Save" or "Exit and Save" to maintain your header design across your site.
Related Articles

How to Create a Website with Squarespace: A Step-by-Step Guide