Add Pages to Site Navigation: A Step-by-Step Guide
Learn how to add pages to your site's navigation menu in Squarespace, making it easy for visitors to browse your content.
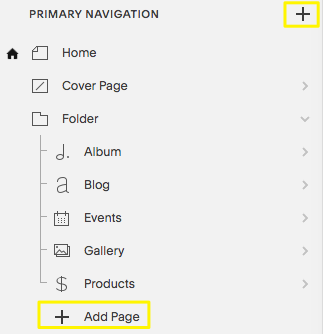
Version 7.1
- Open the Pages panel
- Click the + icon next to main navigation
- Select "Blank Page" or choose from pre-made layouts
- Enter page title and press Enter
Highlighting Navigation Menu
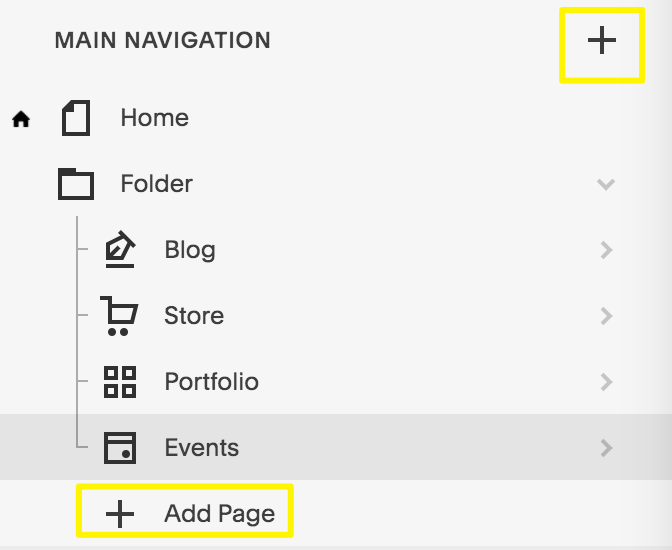
Version 7.0
- Open the Pages panel
- Click the + icon next to main navigation
- Select page type from Create New Page menu
- Enter page title and press Enter
Add Page Button in Menu
Available Page Types
Layout Pages:
- Custom layouts with text, images, forms, and more
- Start from scratch or use pre-made templates
- Fully customizable
Collection Pages:
- Blog
- Events
- Portfolio (7.1 only)
- Store/Products
- Albums and galleries (7.0 only)
Additional Features:
- Dropdowns for organizing pages
- External links
- Member-only pages
- Header/footer visibility options
Mobile App Support
Most page types can be managed through the Squarespace mobile app, with some limitations:
- Layout pages: Full editing support
- Store: Complete management (iOS gets POS features)
- Blog: Full posting and management
- Portfolio: View-only
- Events: Basic management
- Albums/Galleries: Limited functionality
After Adding Pages
- Edit page settings (URL slug, SEO description)
- Reorder pages by dragging in the navigation menu
- Delete unwanted pages (recoverable within 30 days)
- Customize navigation styling (fonts, colors)
Remember that demo pages are included with templates to showcase features and can be modified or deleted as needed.
Related Articles

Comprehensive List of Removed Squarespace Fonts: What You Need to Know