
Integrate Your Form with Zapier: Complete Setup Guide
Zapier lets you automate actions when visitors submit forms on your website by connecting Squarespace forms, newsletters, and cover pages to over 1,000 apps. This integration works with Core, Plus, Advanced, Business, and E-Commerce subscriptions.
Zapier uses "Zaps" - automated workflows that trigger actions like:
- Adding tasks to Basecamp or Trello
- Creating Google Calendar events
- Sending Slack notifications
- Managing contacts in ConvertKit, Constant Contact, or Hubspot
- Creating leads in Salesforce, Pipedrive, or Zendesk
Here's how to set up form integrations with Zapier:
Step 1: Connect Your Form
For form/newsletter blocks:
- Click Edit on the block
- Go to Storage tab
- Click Zapier > Connect
For cover pages (v7.0):
- Add a form via the "Action" menu
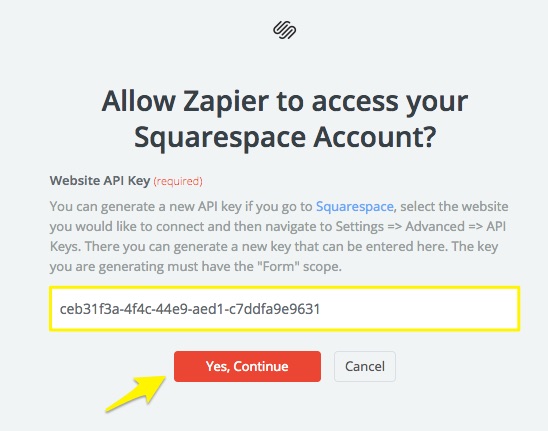
Step 2: Get Your API Key
- Open Developer Tools
- Click Developer API Keys
- Generate new key
- Enable Forms permission
- Copy and save the API key securely
Step 3: Create a Zap
- Go to Zapier.com
- Click Create Zap
- Select Squarespace as trigger
- Choose "New Form Submission"
- Sign in with your API key
- Select your website and form
- Test the trigger
Red button with white text
Step 4: Add an Action
Choose the app and action you want to trigger, such as:
- Adding subscribers to ConvertKit
- Creating Salesforce leads
- Adding Hubspot deals
- Posting Slack notifications
- Creating Trello cards
Once connected, the Storage tab will show how many Zaps are linked to your form. Each form needs at least one Zap per desired action.
For additional support:
- Contact Squarespace for website connection issues
- Contact Zapier for help with creating Zaps
Related Articles

How to Connect a Squarespace Domain to Google Sites: Complete Guide