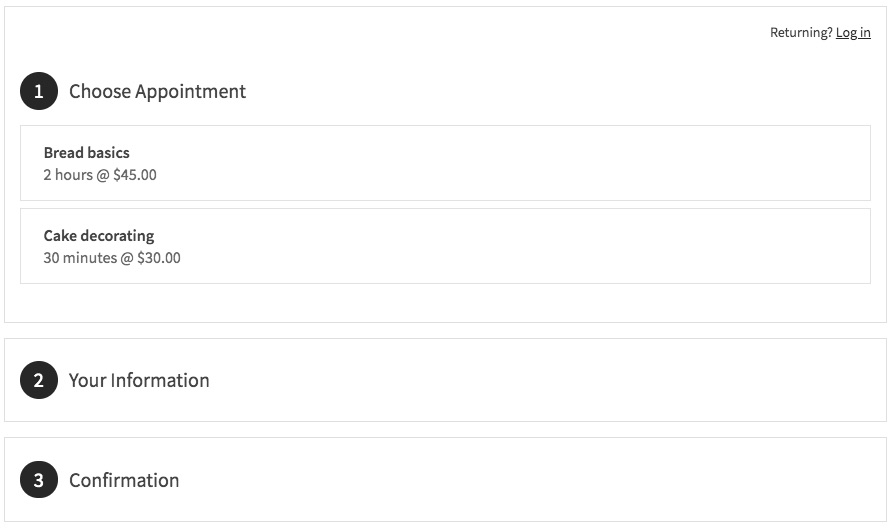
How to Use Squarespace Appointment Blocks with Acuity Scheduling
Let visitors book appointments directly on your website with Appointment Blocks, a feature that embeds your Acuity scheduling page seamlessly into your site.
Adding an Appointment Block (Squarespace-Integrated)
- Edit your page
- Click Add Block or an insertion point
- Select Scheduling
- Click the pencil icon to open block editor
- Choose your scheduler type from the dropdown
- Click Apply (for version 7.0)

Squarespace Scheduling Page
Adding an Appointment Block (Standalone Acuity)
- Get your scheduler URL from Acuity's Link to Calendar Page
- Add a Scheduling block to your page
- Select Custom Link from dropdown
- Paste your Acuity URL
- Click Apply (for version 7.0)
Customization Options
- Modify design through Acuity's Customize Appearance menu
- Add page passwords to restrict booking access
- Create member-only booking areas
- Hide "Powered by Acuity Scheduling" text
- Customize appointment page layout and features
Important Notes
- No Squarespace transaction fees apply
- Paid Acuity plan required for standalone accounts
- All Squarespace-integrated Acuity plans support appointment blocks
- Customizable appearance and branding options available
- Supports multiple scheduler types (general, specific calendars, appointment types, or categories)
To edit existing blocks, simply click the appointment block, open the block editor with the pencil icon, make your changes, and save.
For enhanced security, you can protect your scheduling page with a password or restrict it to website members through member areas.
Related Articles

How to Connect a Squarespace Domain to Google Sites: Complete Guide

