
How to Transfer a 1&1 IONOS Domain to Squarespace: Step-by-Step Guide
Before transferring a 1&1 IONOS domain to Squarespace, ensure you understand the pricing, requirements, timeline, and email migration process. Follow these steps for a successful transfer:
Step 1: Access 1&1 IONOS Account
- Log in to your 1&1 IONOS account
- Navigate to Domains and SSL
- Select your target domain
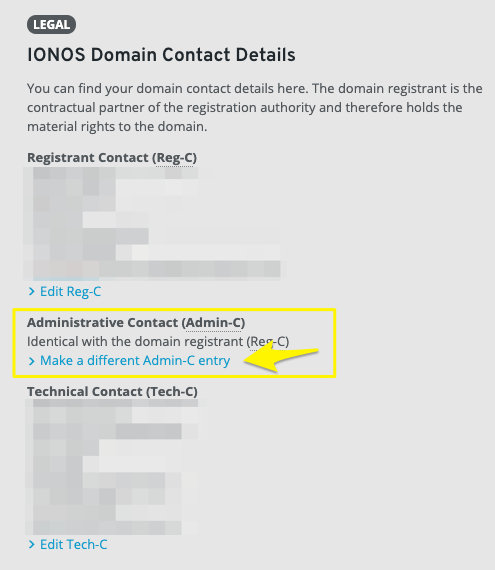
Step 2: Verify Contact Information
- Check Admin Contact (Admin-C) details
- Update if necessary through Edit Admin-C option
image
Step 3: Unlock Domain
- Go to Renewals and transfers tab
- Ensure domain lock toggle is grey (unlocked)
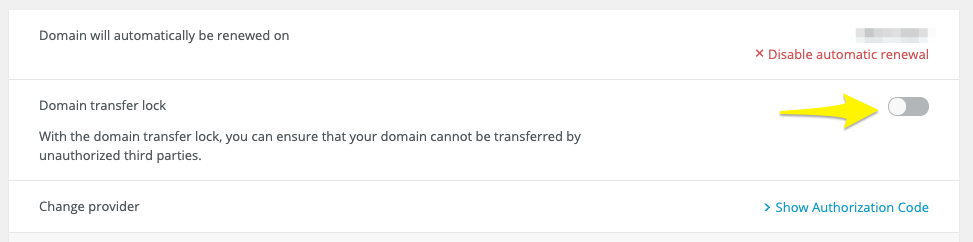
Domain lock toggle button
Step 4: Get Authorization Code
- Click View authorization code
- Copy and save the code securely

Yellow arrow pointing right
Step 5: Initiate Transfer in Squarespace
- Open Domains panel
- Click "I already have a domain"
- Enter domain name
- Input authorization code
Step 6: Complete Registration Details
- Verify WHOIS information
- Update contact details if needed
Step 7: Provide Payment Information
- Enter or confirm payment method
- Ensure card is accepted by Squarespace
Step 8: Review and Confirm
- Check transfer fee and registration period
- Verify all details
- Accept terms and complete payment
Step 9: Approve Transfer
- Watch for approval email from 1&1 IONOS
- Click approval link or wait for automatic approval
Step 10: Monitor Transfer Status
- Check Domains panel for progress
- Address any error messages promptly
Post-Transfer Actions:
- Cancel 1&1 IONOS hosting if needed
- Configure primary domain settings
- Set up SSL
- Add custom email addresses
- Review DNS settings
The transfer typically takes up to 15 days. Don't modify DNS settings or add email accounts during transfer. Contact 1&1 IONOS support if you encounter issues or delays.
Note: Keep existing MX records if you use a custom email address. You can cancel the transfer while pending or delete failed transfers to restart the process.
Related Articles

Registering .co Domains: Guidelines and Features for Colombian Business Registration