How to Add Disqus Comments to Your Squarespace Site: Step-by-Step Guide
Disqus offers enhanced commenting functionality for Squarespace blogs, including threaded conversations and image comments. Here's how to set it up properly.
Before Starting
- Comments are URL-specific - they only appear when visitors use the same URL
- Add your secure (https) domain to Disqus as trusted to ensure consistency
- Comments won't transfer from Squarespace's default system
Create Your Disqus Shortname
- Log into Disqus and click "Add Disqus to Site"
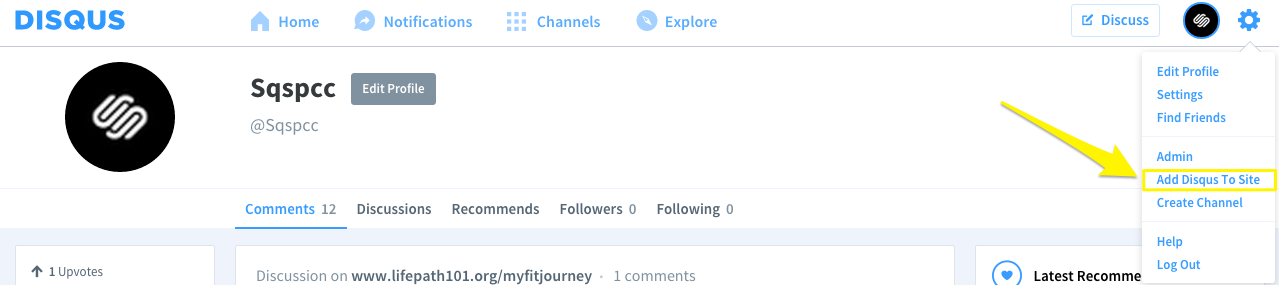
Arrow pointing to Disqus profile button
- Select "Get Started" and "I want to install Disqus on my site"
- Enter your Website Name (this becomes your shortname)
- Choose a category and click "Create Site"
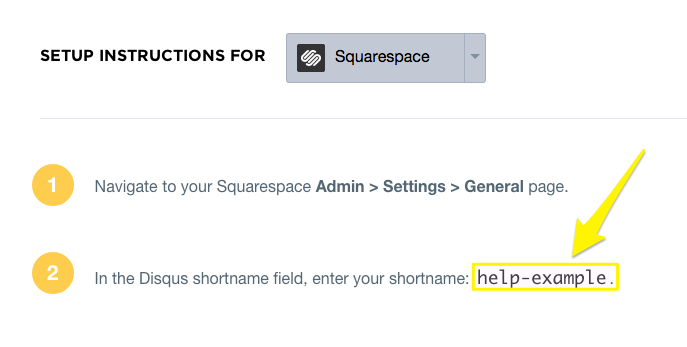
- Select Squarespace as your platform
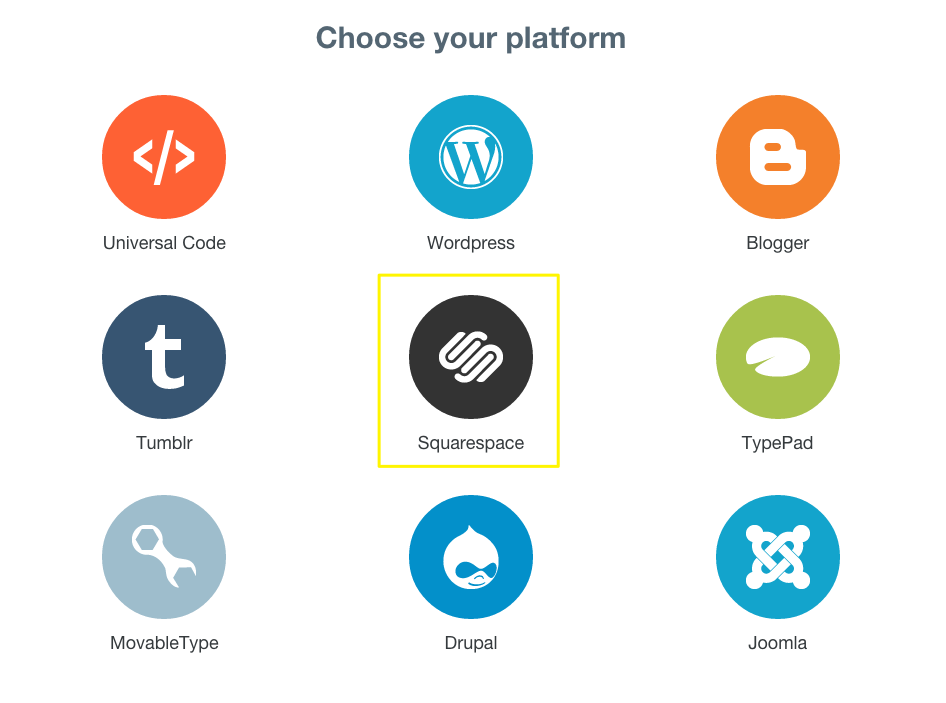
White Squarespace chain logo
- Copy your Disqus shortname
Admin panel navigation menu
Add Disqus to Squarespace
- Open Blog preferences in Squarespace
- Enter your Disqus Shortname and save
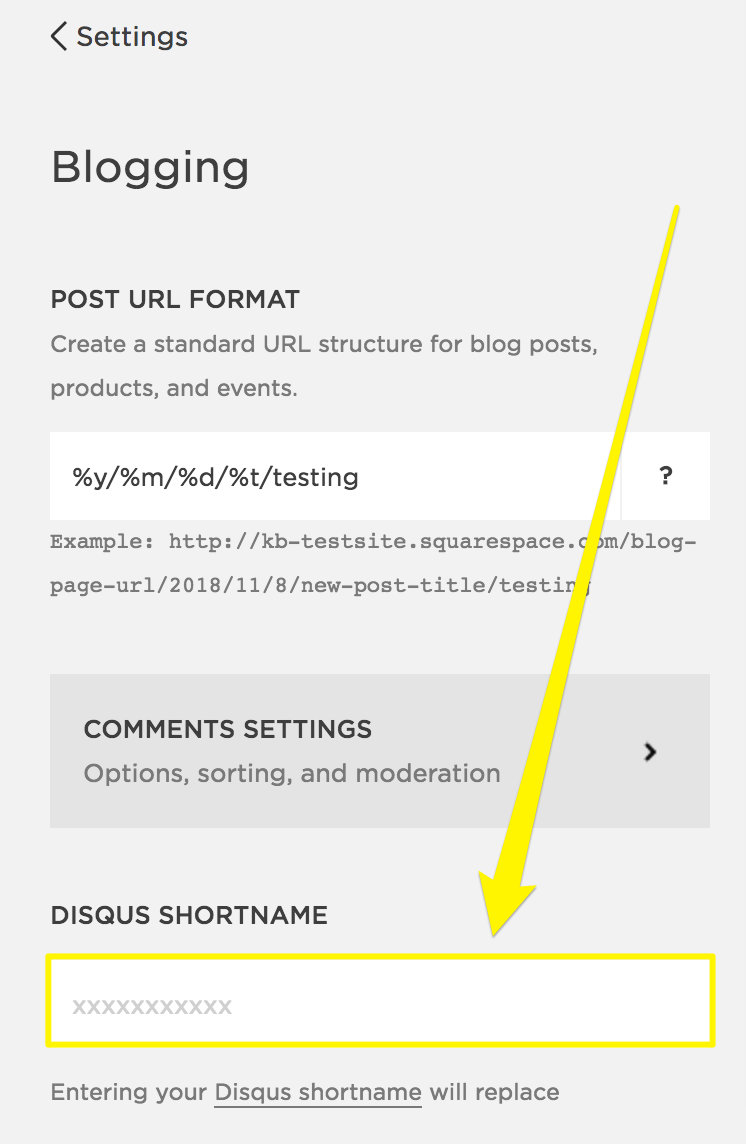
Yellow arrow pointing to blog post
- Enable comments globally in Comments Settings
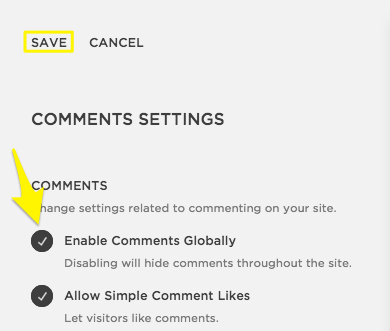
Arrow pointing to blog comments
Using Disqus Comments
- Visitors must log in via Disqus, Facebook, Twitter, or Google
- Comments only appear on the URL registered with Disqus
- Customize appearance through Disqus settings

alt="Squarespace eCommerce login screen"
Troubleshooting
If comments aren't appearing:
- Verify you have a Disqus Website account (not User account)
- Confirm your shortname is correctly entered
- Check if comments are enabled on individual posts
- Ensure you're using the correct URL
- Note that Ajax-enabled templates may have display issues
Remember: Old Squarespace comments won't transfer to Disqus. For technical support with Disqus features, contact their support team directly.
Related Articles
How to Connect a Squarespace Domain to Google Sites: Complete Guide