How to Add and Customize OpenTable Reservation Blocks
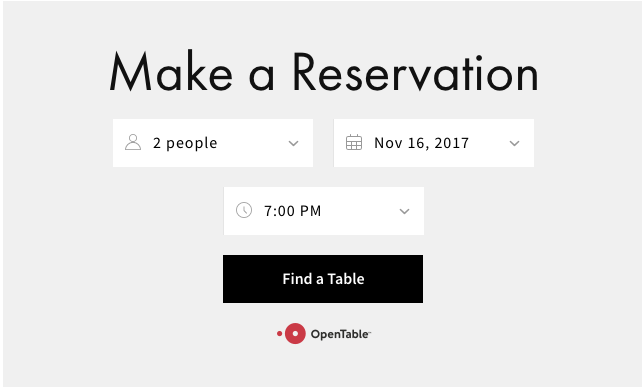
OpenTable blocks allow visitors to make restaurant reservations or join waitlists directly on your website. Here's how to set them up effectively:
Prerequisites:
- Active OpenTable Restaurant ID
- SSL-enabled domain
- Restaurant located in supported countries (Canada, Germany, Ireland, Japan, Mexico, UK, or US)
Supported Languages:
- English
- French
- German
- Japanese
- Spanish
Adding an OpenTable Block:
- Edit your page and click "Add a block"
- Select "OpenTable"
- Enter your OpenTable restaurant ID
- Choose your location domain
- Select preferred language
- Customize design options

Reserve a Table via OpenTable
Customization Options:
- Hide/show title
- Remove icons from drop-down menus
- Toggle OpenTable logo visibility
- Adjust fonts through Site Styles panel
- Modify colors using the Color theme editor
Best Practices:
- Add only one OpenTable block per page
- Place on homepage, footer, or dedicated reservation page
- For multiple restaurants, create separate pages for each location
- Use Code block for multi-restaurant booking options
Styling Tips:
- Heading fonts affect block title appearance
- Background color automatically adjusts text contrast
- Block title follows Heading 3 font size
- Title color matches paragraph (Medium) settings
Troubleshooting:
- If block doesn't display while logged in, view in private browsing mode
- Ensure SSL certificate is valid for mobile functionality
- For unsupported countries, use Button block or hyperlink to OpenTable page
The block will display either a "Find a Table" button for reservations or "Join Waitlist" button depending on your restaurant's setup.
Related Articles

Deep linking: How to Link Specific Gallery Images in Squarespace 7.0

