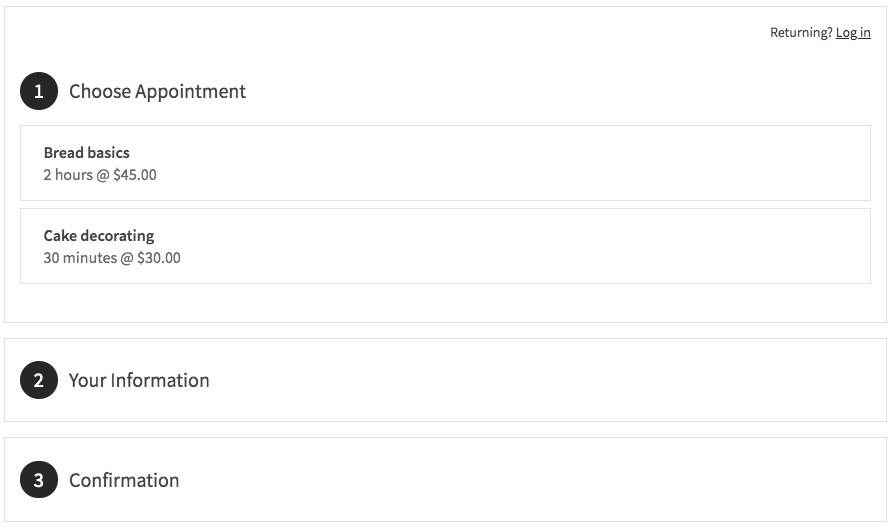
Add Acuity Scheduling Block to Customize Your Online Booking System
Display an Acuity Scheduling booking page directly on your website using the Acuity Scheduling block. This guide covers setup for both Squarespace-integrated and standalone Acuity accounts.
Setting Up with Squarespace Integration:
- Click 'Add Block' while editing a page
- Select 'Scheduling'
- Click the pencil icon to edit
- Choose your preferred scheduler display option
- Click 'Apply' (for version 7.0)

Booking screen: showing three options
Setting Up with Standalone Acuity:
- Copy your Acuity booking page URL
- Add Acuity Scheduling block to your page
- Select 'Custom Link' from dropdown
- Paste your Acuity URL
- Click 'Apply' (for version 7.0)
Editing Existing Blocks:
- Edit the page containing the block
- Click the pencil icon
- Make changes
- Click 'Save'
Security Options:
- Add page password protection
- Restrict to members-only access
Customization Features:
- Access 'Customize Appearance' in Acuity
- Click 'Booking Page Options'
- Adjust settings using available checkboxes
- Preview changes in real-time
Important Notes:
- No Squarespace transaction fees apply
- Paid Acuity plan required for standalone embedding
- "Powered by Acuity" text can be removed via Booking Page Options
- All Squarespace-integrated Acuity plans support embedding
For optimal results, ensure your Acuity account is properly configured before embedding the scheduling block on your website.
Related Articles

How to Connect a Squarespace Domain to Google Sites: Complete Guide

