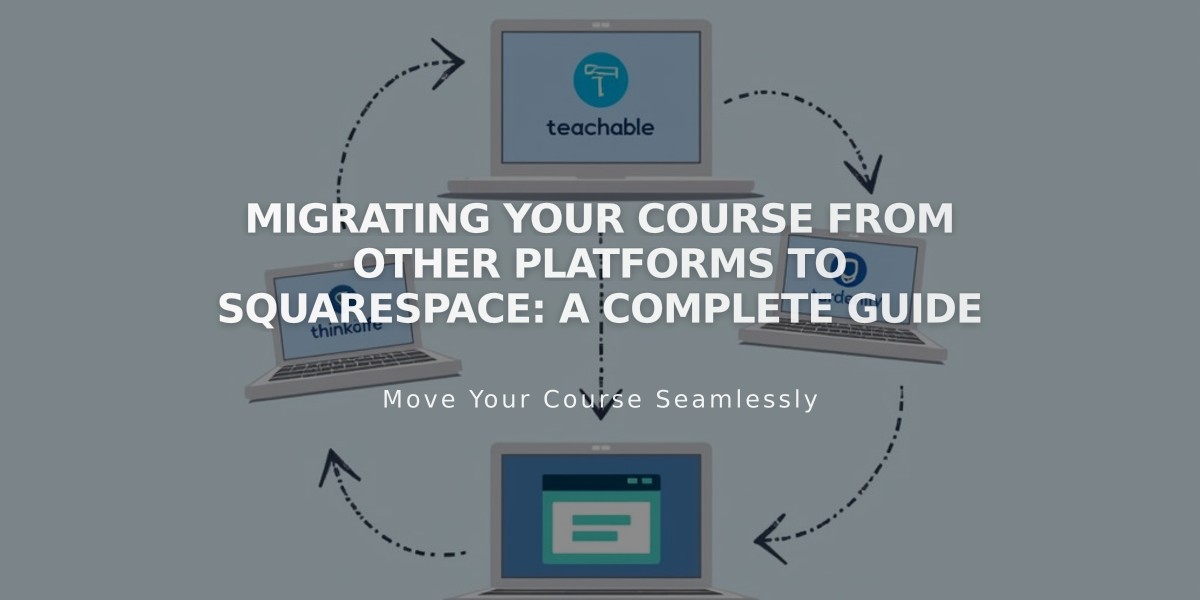
Migrating Your Course from Other Platforms to Squarespace: A Complete Guide
Below is the concise, instruction-focused rewrite:
Ensure you have these requirements before starting:
- An active Squarespace site
- A custom domain
- An active payment plan
Step 1: Create Your Course Structure
Create a course page with:
- Course overview landing page
- Individual lesson pages
- Chapters to group related lessons
- Progress tracking for students
Step 2: Transfer Content
For videos and images:
- Upload media to the asset library (30 minutes video storage included)
- Embed external videos (YouTube, etc.) if needed
- Add media files to appropriate lessons
For text content:
- Manually copy and paste text into lessons
- Review and adjust formatting as needed
Step 3: Set Up Payment Options
Choose from these pricing structures:
- Free plans for email collection
- Paid access with custom pricing
- Hybrid model with some free content
For existing students, offer:
- Temporary free access (100% off discount codes)
- Permanent free access (password-protected)
- Special discounts for transitioning students
Step 4: Migrate Students
- Import student email addresses to contact list
- Send migration announcement email including:
- New course URL
- Access instructions
- Relevant discount codes
- Timeline for transition
Step 5: Launch and Promote
Promote your new course by:
- Optimizing for SEO
- Creating email campaigns
- Offering public course previews
- Sharing mobile screenshots on social media
- Building a Bio Site with course links
- Adding email collection forms
Additional Resources:
- Register for Squarespace webinars
- Join Squarespace Forum
- Consider hiring a Squarespace Expert
Note: Direct content import is not currently supported. Videos require Digital Products plan for storage over 30 minutes.
Related Articles

How to Monetize Your Website: A Complete Guide to Making Money Online