
How to Transfer an Enom Domain to Squarespace: Step-by-Step Guide
Moving an Enom domain to Squarespace requires careful preparation and several steps. Here's how to complete the transfer successfully:
Before Starting:
- Check domain transfer pricing and billing details
- Review transfer requirements
- Consider timing implications
- Plan for custom email migration
Step-by-Step Transfer Process:
- Access Enom Account
- Log into Enom
- Navigate to Domains > My Domains
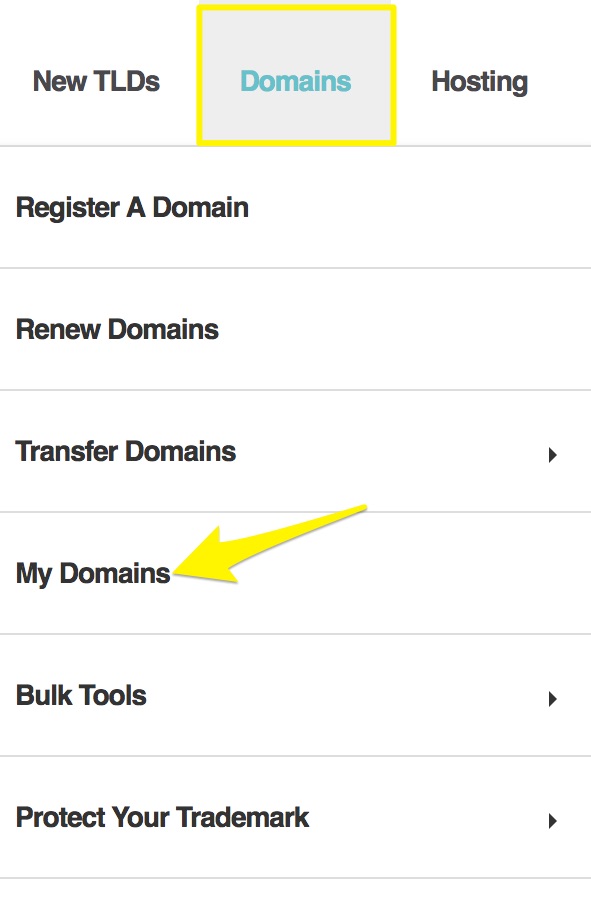
Domains tab highlighted in sidebar
- Verify Contact Information
- Check Registrant and Administrative contact details
- Ensure email addresses are accessible
- Save any necessary changes
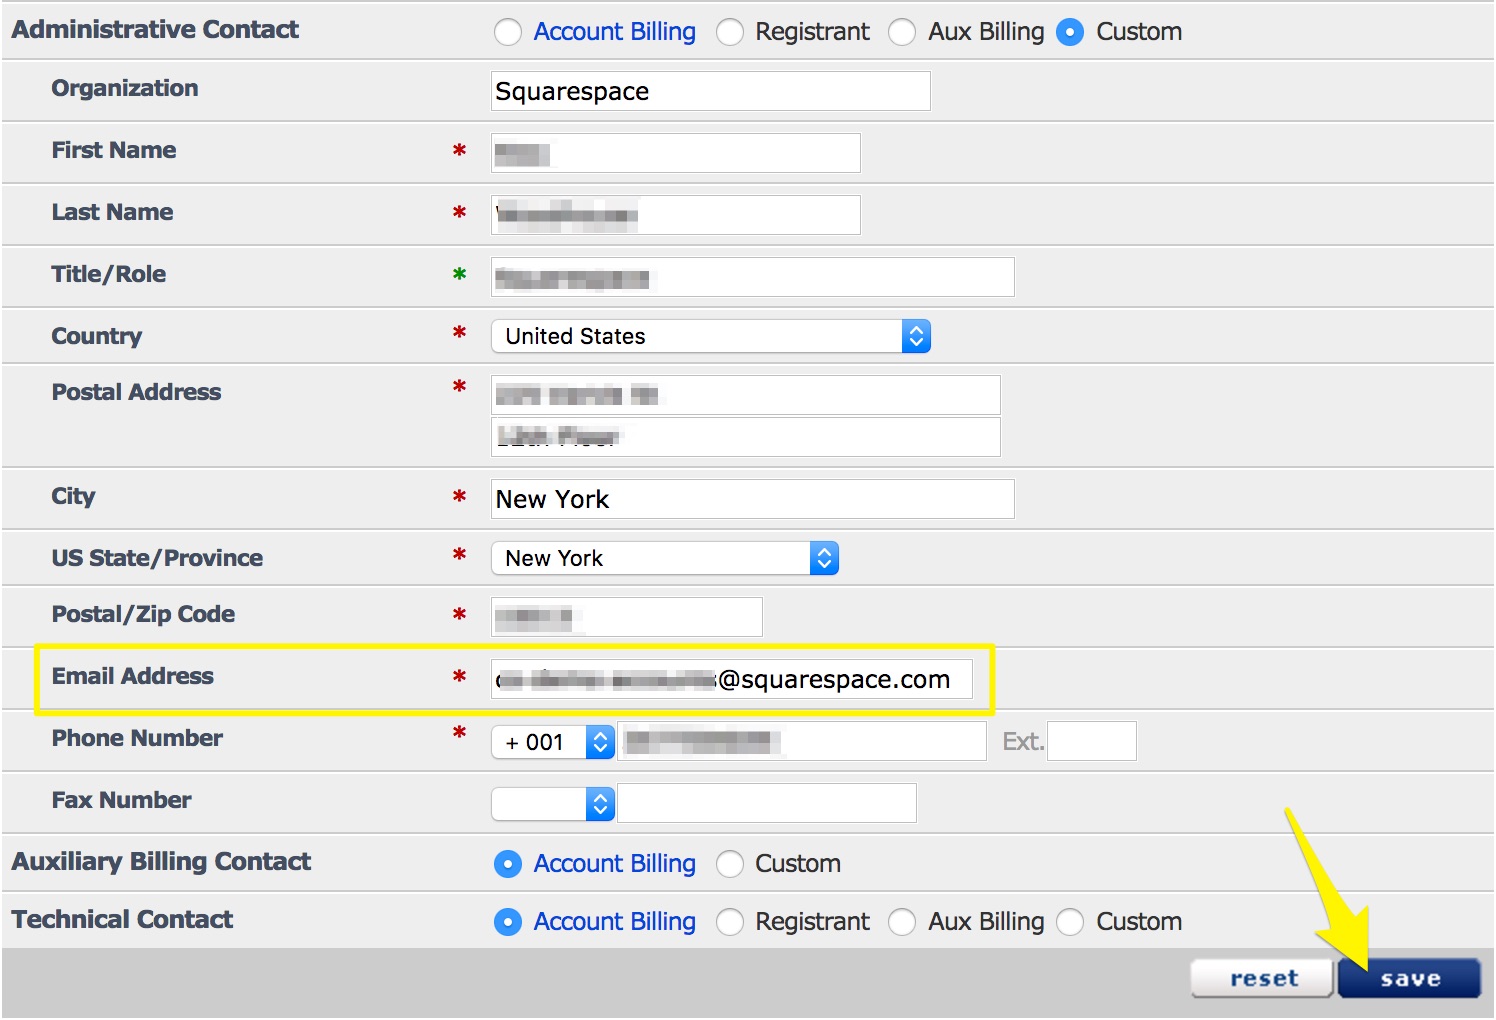
Email field in Squarespace
- Unlock the Domain
- Go to Manage Domain > General Settings
- Disable Registrar-Lock
- Save changes
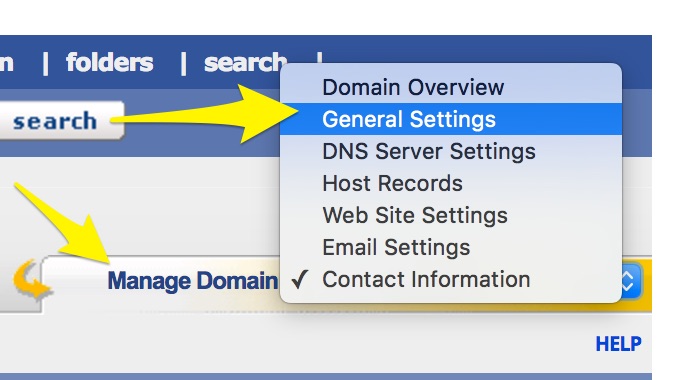
Squarespace settings menu
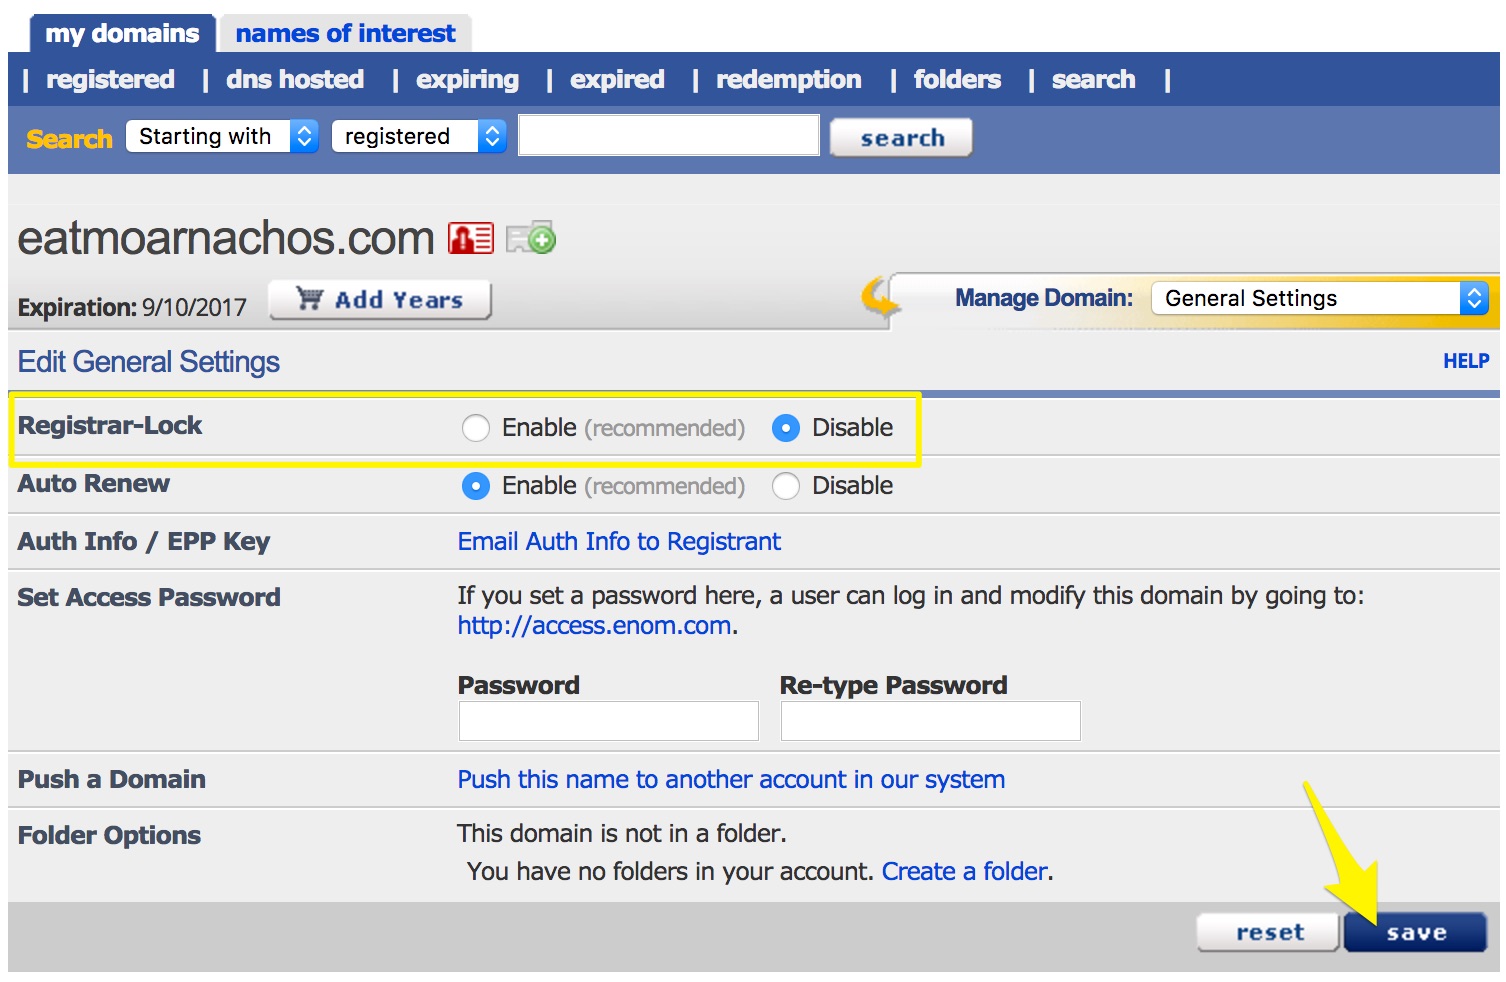
Registrar Lock toggle switch
- Get Authorization Code
- Click "Email Auth Info to Registrant"
- Check registrant email for the code
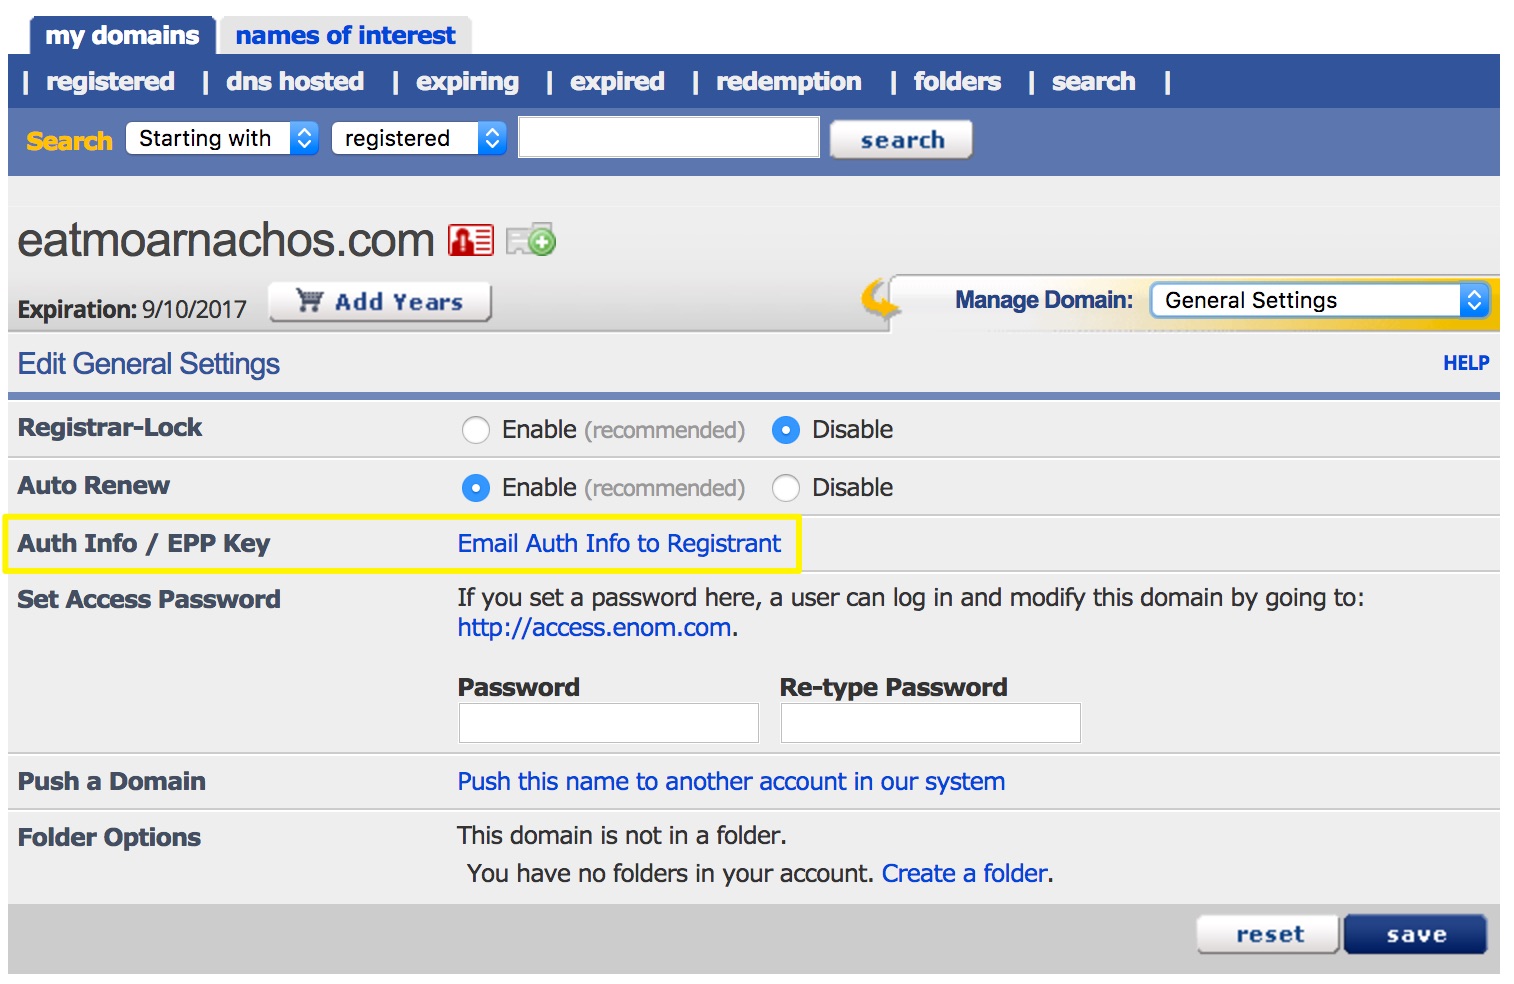
Email auth info button
- Initiate Transfer in Squarespace
- Open Domains panel
- Select "Use a domain I own"
- Enter domain name
- Input authorization code
- Complete Transfer Details
- Verify registration information
- Update contact details if needed
- Save and continue
- Handle Payment
- Confirm payment method
- Review charges for one-year registration
- Confirm Transfer
- Review order details
- Accept terms
- Complete purchase
- Accept Transfer Request
- Check email for Enom's transfer approval link
- Approve within 5 days
- Monitor Transfer Status
- Check Domains panel for progress
- Address any error messages promptly
Important Notes:
- Transfer typically takes up to 15 days
- Wait to modify DNS settings until transfer completes
- Keep MX records if using custom email
- You'll receive confirmation email when complete
After Transfer:
- Cancel Enom account if desired
- Set up primary domain
- Configure SSL
- Add custom email if needed
- Review domain settings
For transfer issues, contact Enom support directly or review their documentation for additional assistance.
Related Articles

Domain Propagation: Why DNS Changes Take Up to 48 Hours to Complete